You can sharpen boning knives using a sharpening stone, sharpening steel, or electric sharpener. Place the side of the blade at a 12-20° angle over the tool, and slide the knife along the surface. Repeat around 5 to 10 times on each side to produce a new edge. Typically, boning knives require sharpening two or three times per year.
Keeping your boning knives sharp is essential to maintaining the effectiveness of the knife. When you use dull knives, you need to apply more pressure to make the simplest cut. Even then, the blade may not be able to cut through connective tissue or ligaments.
It’s a common misconception that sharpening and honing a knife are the same thing.
If your knife is dull, you have to sharpen the blade instead of honing it. Sharpening is the process of removing metal from the blade to create a new cutting edge.
Honing is the process of maintaining a sharp edge by pushing it into alignment. This procedure requires a honing rod, and boning knives usually require honing every three to four uses.
What Do You Need to Sharpen a Boning Knife?
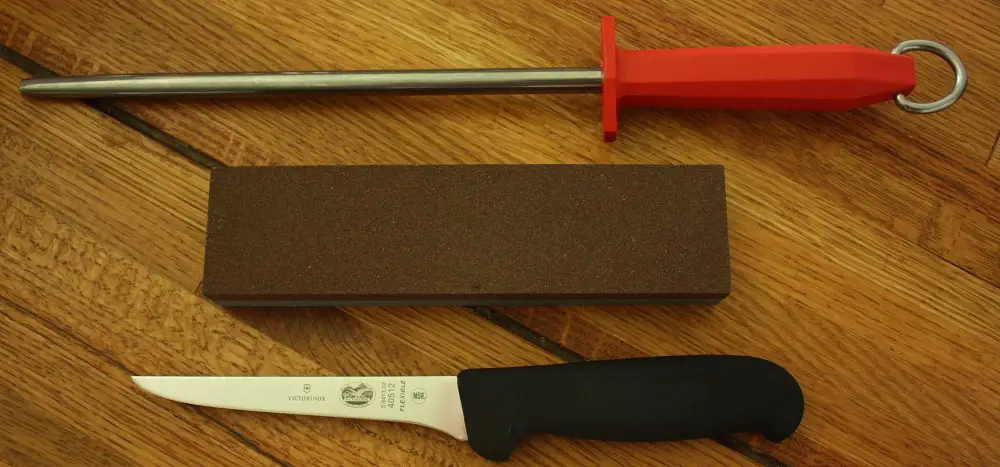
You need three tools to produce a sharp edge on a boning knife: a sharpening stone, sharpening steel, or an electric sharpener. Learn which one is the better option for you here.
Sharpening Stone
Sharpening stones take practice, but they’re the most effective method to sharpen knives. You get complete control over the sharpening process, and you can decide when to stop. If you don’t like the result, you can change the angle to get a different bevel.
Furthermore, a sharpening stone is an affordable tool. You can find some for as little as $20. Others are more expensive but perform even better. For example, the Pebble Premium Whetstone is $40 and offers two sides. One side is 1,000 grit, whereas the other side is 6,000. As a result, you can sharpen and polish the finish with a single tool.
The preferred method to sharpen boning knives is using whetstones. Therefore, in this article, I will focus on this tool heavily.
Sharpening Steel
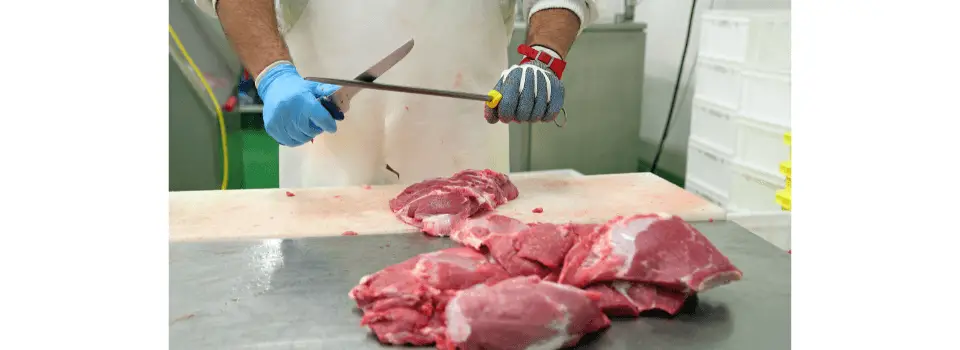
Sharpening steels are the go-to choice for professional chefs and experts. The steels are readily available in almost any kitchen, and they sharpen knives fast. You don’t have to spend considerable money on this tool either. Winco’s 12-Inch Sharpening Steel is only $22 and does an excellent job.
Nonetheless, the disadvantage is that steel sharpeners remove more material per pass. You must be extra careful while sharpening boning knives with this tool.
Electric Sharpener
Electric sharpeners are the easiest tools to sharpen boning knives. These devices work automatically, and they’re highly intuitive. They have slots with visual indications of their purposes. One removes material for sharpening, and the other one polishes the finish. The number of slots may vary depending on the sharpener.
However, you have minimal control over the sharpening process. Some electric sharpeners allow you to set the angle, but that’s not enough. You may face complications if the blade has a prominent curvature. Plus, the sharpener could remove more material than necessary if the blade is too thin.
Also, electric sharpeners are expensive. If you want a good device, you should get one like the ChefsChoice Trizor XV. Unfortunately, this one cost $160 and not everyone is willing to pay that much.
Boning Knife Sharpening Process – Step-by-Step Instruction
Learn how to sharpen a boning knife using a sharpening stone, sharpening steel, and an electric knife sharpener.
Using a Sharpening Stone
This method will be the longest. You will learn concepts that will help you while using any sharpening tool.
- For this guide, we recommend using a 3,000-grit whetstone for stiffer blades.
- If the boning knife is flexible, use a 1,000-grit whetstone.
Step 1: Set Up Your Knife Sharpening Tool
Find a table with a flat surface, and place your sharpening tool on it. Keep a bowl with water close if you use a whetstone. Make sure the sharpener is steady before moving forward.
Consult with the manufacturer about how long you have to soak the stone in water before sharpening. Usually, ten to fifteen minutes is enough.
Step 2: Place the Knife at the Right Angle
Grab the knife by the handle using your dominant hand. Then, place the blade over the whetstone. It must be horizontally, forming a cross with the sharpening stone.
- You will use your non-dominant hand to press the blade.
- If the knife has curvatures, you must sharpen the blade in sections.
Step 3: Find the Ideal Angle
Boning knives sharpen at angles between 12 to 20 degrees. Lay the blade parallel to the sharpening tool, and lift the spine slowly. You will find the ideal angle once the bevel flushes with the tool.
- If the knife is a single bevel, both sides of the blade sharpen equally.
- Double bevel boning knives require slight changes. Primarily, you will only sharpen the front side at an angle. The back side will require a few passes completely flat over the sharpening tool. In this case, the goal is to align the blade for the front side sharpening.
Step 4: Sharpen the Knife
Place the boning knife at the correct angle, and prepare to sharpen it. The blade edge must be away from you. Then, put three fingers over the side of the blade facing up near the tip. Bring the knife down towards you focusing on the tip area. This procedure is applicable to different boning knife blades whether straight, curved, stiff, or flexible.
- Repeat this process from five to ten times on the tip, middle, and heel sections. Then, flip the knife and do the same on the other side if it’s a double-bevel blade.
- Sharpeners argue that leaving a blunt tip is better for boning knives. It will reduce the risk of piercing into bones and breaking. This decision is up to you.
- Some prefer a single bevel over a factory double bevel for silver skin and similar tasks. Accomplishing this objective is easy even if your boning knife is a double bevel. Lay one side of the blade flat over the surface, and move it up and down along the sharpening stone. Continue for a few seconds to turn the blade into a single bevel. It will scratch the blade, but it’s only aesthetics. The cutting edge will be sharper this way.
- Thinner blades may require fewer repetitions, whereas thicker blades may require more.
- If the blade has a recurve, you can sharpen it on the sides of the stone, Glide the blade up and bring it out of the stone. Repeat five to ten times.
Step 5: Produce a Smooth Finish Using a Honing Steel or Rod (Optional)
Grab the knife with one hand, and the honing rod with the other. Place the heel of the blade at the base area of the honing rod. Then, slide the boning knife away from you in a swift movement while turning the rod. Apply slight pressure. Repeat a couple of times on both sides of the blade to produce the desired finish.
Alternatively, use a 6,000-grit stone to polish the sharp knives.
Using a Sharpening Steel
This method is similar to using a sharpening stone, only faster.
Place the sharpening steel on a stable, non-slip surface. The tip must be downwards. Then, align the knife on one side of the sharpener at the right angle. Make consistent swiping motions while bringing the knife from heel to tip. Repeat on the other side.
Using an Electric Sharpener
Electric sharpeners allow you to sharpen boning knives faster and easier. Using these devices is also a breeze. Insert the blade on the slots and pull gradually. The abrasives within the machine will do the work automatically. Turn the knife, and repeat the process on the other side.
Some electric sharpeners allow you to adjust the angle before sharpening knives. Use this feature to reduce the risks of messing up the flexible blades.
What is the Best Angle to Sharpen Boning Knives?
The best sharpening angle for boning knives is between 12-20 degrees. Knives sharpened at this angle can cut well and remain durable. You can even go a bit higher and sharpen the knife at 20 degrees for more durability. Generally, lower angles are better for flexible boning knives, and higher angles are more suitable for stiffer boning knives.
How Should You Care and Maintain Your Boning knives?
You won’t need to sharpen your boning knife too often if you properly care for it. Here’s how you can do it.
Use the Knife Properly
The purpose of a boning knife is to debone, skin, and fillet. Using it for other tasks like cutting through bone isn’t recommended.
If you fillet larger fish like catfish, make sure the steel thickness can handle the rib cage bones. Cuts of meat like beef or venison will also require thicker blades.
Alternatively, breaking chicken apart is better for short and more flexible boning knives. Avoid applying more pressure than the knife can handle. Otherwise, the blade may chip and you will lose a sharp boning knife quickly.
Clean the Knife After Every Use
Regular maintenance will prevent corrosion, odor, and sharpness loss. Therefore, you must clean your boning knife after using it to preserve its edge.
Consider getting a knife with a stainless steel blade to make the clean-up easier. This steel type only requires a quick rinse. Plus, you could leave it unattended for some time and it will still clean up easily. It’s highly convenient if you’re deboning meat indoors, or filleting fish outside.
How to Clean Boning Knives
Clean your boning knife by washing it with warm water and soap. Use a soft cloth or brush to get rid of particles, and wipe it using a towel. Store the knife in a proper location only when it’s dry.
Regular Sharpening
The sharpness of a boning knife will depend on how often you use the knife. However, every two weeks is a perfect time range to sharpen your knives. If you use it sporadically, the knife could hold a cutting edge for up to three months. You can also follow these tips to prevent dull edges prematurely.
- Don’t put your boning knife in a drawer. Constant impact with other steel and cutlery will damage the sharp blade.
- Avoid using the dishwasher. Take the time to wash the knife by hand instead.
- Use the knife correctly. A sharp knife can debone the meat, remove fish skin, and make fillets. Other uses include peeling fruit like mangoes or slicing dough for cookies. Don’t use the boning knife for tasks like cutting through bones or wood.
- Remember to use the right technique. If you remove the fish skin or connective tissue, make short and small cuts.
Keep the Knives in a Knife Block or Roll
Knife blocks and knife rolls are excellent items to store your boning knife. They will protect the blade, and you will have easy access. If you bring the knife for outdoor activities, make sure the roll is waterproof. It will avoid damage from moisture even if it rains.