If you are making your own knives, you’ll need to heat treat them. Heat treating is what ensures that our knife can stand up to whatever you put it through. Whether you want it to bend easily when hacking or withstand an unpredicted fall, it’s up for the task after heat-treating.
Wondering how to heat treat a knife without a forge?
Well, you do not always need a forge to make a knife. All you need is some canola oil and a magnet. Once your knife is hot and demagnetized, dunk the blade in the oil quickly and place it in an oven at 400 °F.
But that is not all, in this step-by-step guide I will walk you through the whole process. You’ll see how heat treating a knife without a forge is not only possible but also straightforward.
Precautions You Should Take Before Heat Treating
As you’ll be working with extremely hot burning steel and oils, we recommend doing a heat treatment process risk assessment first. We don’t want you to end up with injuries, so follow below advices:
- The best way to keep yourself safe is to avoid touching any materials directly.
- Make sure that you are wearing durable gloves throughout the process.
- To avoid any contact with skin, you should also wear durable clothing that covers your arms and legs.
Heat treating a knife at home is safest when you have water and a fire extinguisher on hand as well.
How to Heat Treat a Knife Without a Forge at Home: 5 Easy Steps
Heat treating knives is simple science that you can perform at home. You just need the right materials and follow the heat treat process exactly.
Below, we’ll guide you through how to heat a knife without a charcoal forge at home.
5 Things You’ll Need
- Charcoal. Charcoal gets as hot as needed to heat treat.
- Oil. Just about any oil will do for quenching, but we recommend canola (a type of vegetable oil) for best results.
- Magnet. You’ll use this to test the temperature.
- Pliers for holding the knife. The longer the handle, the better.
- A heat-resistant container for holding the oil.
- Welding gloves to protect your hands from fire.
Step 1 – Heat the Blade Up to a Specified Temperature
The first step for heating your knives will depend on the steel you use. Different kinds of steel require different temperatures.
However, it is typically somewhere around 1500 – 1600 °F for newly made knives. Kitchen knives can be heated similarly, but it’s important to understand the steel type used for the kitchen knives you want to treat.
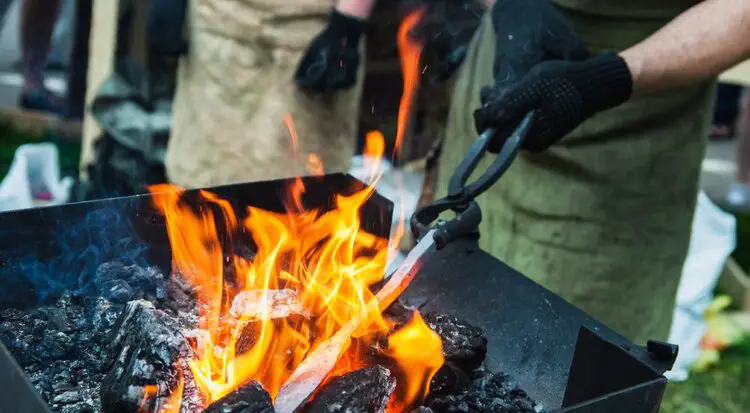
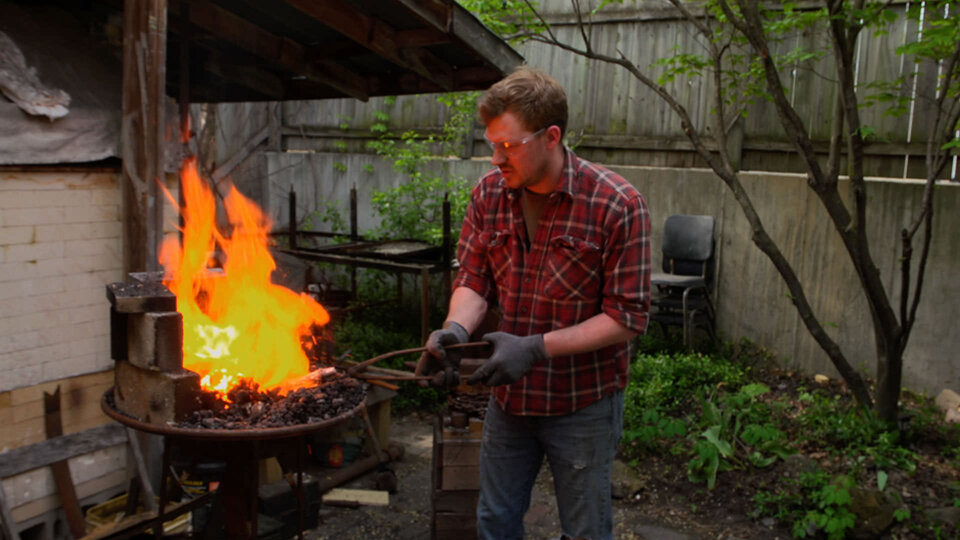
Wondering how to heat up knives? Simply put it in the campfire. Make sure you are using gloves and pliers to take the blade in and out of the fire. A blow torch works as well.
Step 2 – Allow the Blade to Cool Down
Once you’ve heated the knife to the correct temperature, allow it to cool down to room temperature. Hold off on that oil, though! You just need it to cool in the air. This initial process of heating and cool is known as normalizing the steel.
While some steel may already be “normalized” before your purchase, doing this process is quick and won’t harm your steel. It will improve the grain structure of the steel.
Step 3 – Check with a Magnet
The power of magnets is incredible, isn’t it? Who knew you could also use magnets for heat-treating at home.
When steel is heated to about 1425 °F, it becomes non-magnetic. This is a great indication of when you’re getting close to the temperature the steel needs to reach for heat treating.
However, it doesn’t take away any of the guesswork. The magnet just tells you when you’ve reached at least 1425 °F. But from there, you’ll need to judge the heat on your own.
We recommend taking a look at the color of the steel when it becomes non-magnetic. From there, try to get it a shade or two brighter based on how hot you want it to go. This step will take some trial and error on your part.
Step 4 – Repeat Heating of the Knife
When considering how long to temper a knife, it’s all about getting it to the desired temperature and then allowing it to cool down several times until the hardening process is complete. Usually, this takes about two hours.
Once it’s been tempered, it’s time to heat it one last time.
Step 5 – Dip the Knife in Old Canola Oil
Your knife is working hard with all this heating and cooling. It’s time to quench that steel.
Quenching is known as when you plunge your knife into water or oil after heating it a final time in your campfire. Preheat your quenching oil (or water or brine depending on the steel). However, we do not recommend using water for quenching. This could cause your knife to be more brittle than it would be otherwise. Since water offers a faster cooling rate than oil, this issue can’t be prevented.
Quenching in Water vs Oil
While quenching, it’s a good idea to move the blade in a slicing motion. This method will prevent the formation of air bubbles. The method can be applied to all types of knife-making steels.
While several types can be used, canola is popular for quenching a knife in oil. Low viscosity motor oil would work as well. Heat your knife in the campfire just like you were doing before. But now, put the knife into the canola oil rather than allowing it to cool in the air. Leave it in the oil for at least 10 – 15 seconds. This should be fast while also being careful.
Pro Tips:
- Always preheat the oil.
- Completely submerge your blades so they don’t flame up and ruin your oil.
- Never swirl the blade in the oil just let it sit as swirling will create temp differentials as well as it will increase the chance of warps and twists of the blade.
Step 6 – Let the Knife Cool Down
The knife will cool in the oil and let the blade fully cool in the quench for a more complete martensite transformation.
By moving it slowly up and down, you can avoid any bubbles forming in your steel.
Stay safe by being prepared for a possible flare-up. Don’t stand too close to the oil when quenching. The cooldown will happen quickly, so it should only take about 10-15 seconds.
Step 7- Bake the Knife in an Oven
It may have cooled down, but your steel isn’t ready! A necessary next step is to bake your metal knife blade in a heat treat oven.
Directly after quenching, get your knife to the oven at 400 – 500°F. The lower the temperature, the harder but more brittle your knife will be. The higher the temperature, you’ll get a softer and tougher edge.
Leave your knife in the kitchen oven for two cycles (each time one hour). Make sure that your knife completely cools between cycles for the best result. You can try this in your toaster oven as well.
Frequently Asked Questions
Do you have to heat treat a knife?
If you are making your own knives or you’re into knife making for business purposes, heat treating is essential for creating a hard, durable piece. It’ll give you a tougher knife than the ones made with ordinary carbon steel.
Can you heat treat a knife with a propane torch?
While it can be done with a propane torch, this may be best for more experienced knife makers to get it to the correct temperature.
Can you heat treat a knife twice?
Yes! Continue heat treating the steel to get the desired hardness before quenching.
How much does it cost to set up a forge?
Forges can be as simple or as deluxe as you’d like. Setting up a simple forge could put you back about $200-300 for a cheap forge.
Can I utilize used motor oil as quenching oil?
Yes, used motor oil is perfectly fine for the quenching. However, if you think the oil contains too many contaminants, then you should refrain from using it.
Does a coffee can forge actually work?
Forges made with coffee cans are an excellent alternative. But you need to build them correctly. For example, the mix ratio of the glass gardening beads and morter should be 2:1. Adding too much water will crack the insulating mix. You can use a spray bottle here to stay on the safe side.
Verdict
If you’re trying to figure out how to heat treat a knife without a forge, remember that you don’t need the most hi-tech equipment. With just a campfire, good pliers, and oil, you can properly treat your knife so that it comes out ready to take on whatever plans you have for it! Also, you can always jump into YouTube for demonstration videos.
Do you have more questions about heat treating a knife? Leave us a comment below!